


Properly sealing your exterior windows is one of the most important home maintenance tasks you can undertake, especially as the colder months approach. Not only does it help prevent drafts and reduce energy bills, but it also protects your home from moisture damage and improves overall comfort. This comprehensive guide will walk you through the entire process of caulking an exterior window using professional-grade tools and techniques.
Why Exterior Window Caulking Matters
Windows are one of the most vulnerable points in your home’s exterior. Over time, the original caulking can crack, peel, or degrade due to exposure to the elements. This can lead to water infiltration, drafts, and even structural damage if left unaddressed.
By resealing your exterior windows, you:
- Prevent water from seeping into your walls and causing mold or rot.
- Improve energy efficiency by sealing air leaks.
- Maintain the aesthetic appearance of your home’s exterior.
- Extend the lifespan of your windows and surrounding materials.
Proper caulking is a relatively simple and cost-effective way to protect your investment and enhance your home’s comfort.
Preparing Your Window for Caulking
Preparation is key to a successful caulking job. Here’s how to get your window ready:
1. Remove Old Caulking and Debris
Start by peeling out all the existing caulk around the window frame. This ensures that your new sealant will bond directly to a clean surface rather than over old, cracked material. Use a sharp utility knife or caulk removal tool to carefully scrape away the old caulk without damaging the window frame or siding.
2. Clean the Surface Thoroughly
Once the old caulk is removed, clean the entire area with a surface cleaner. This removes dirt, dust, oils, and other contaminants that could prevent proper adhesion. A clean surface is essential for a long-lasting seal.
Allow the area to dry completely before moving on to caulking.
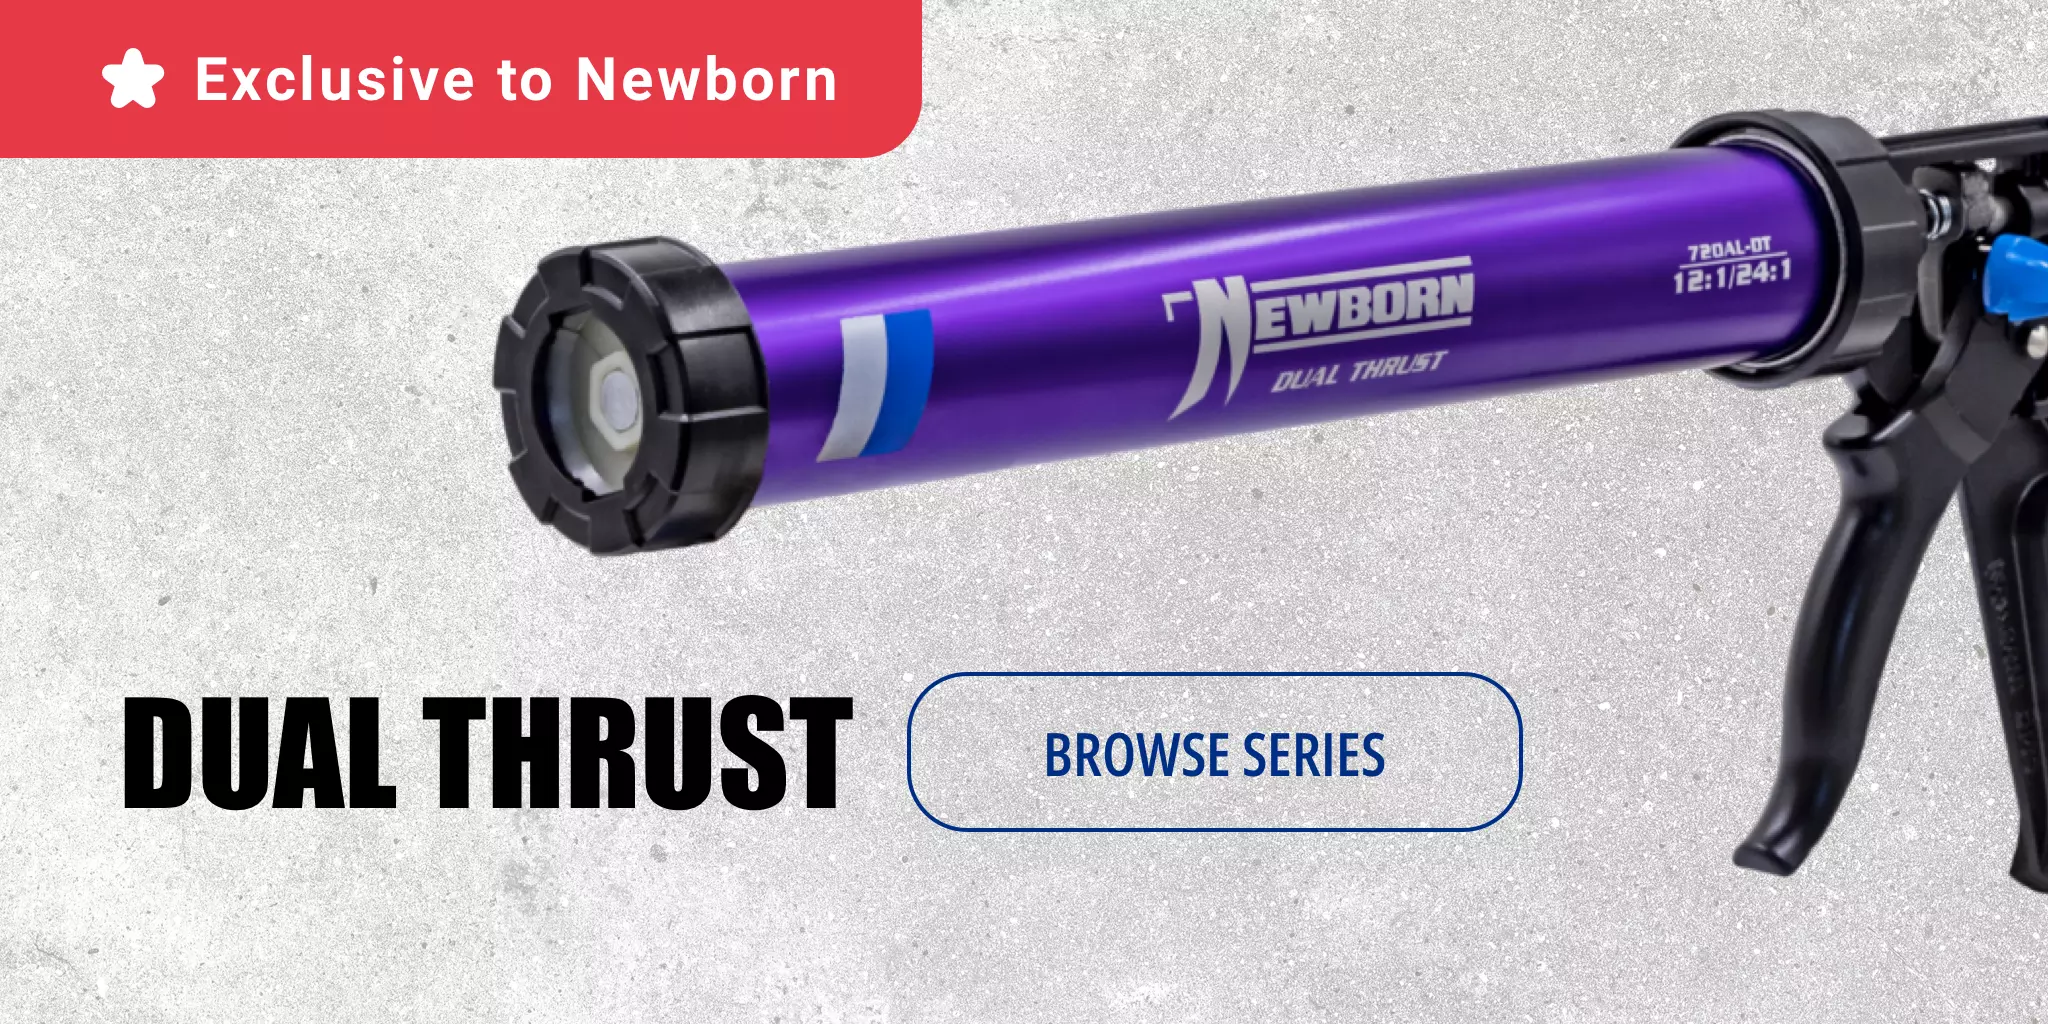
Choosing the Right Tools: The Newborn 720AL-DT Caulk Gun
Having the right caulking gun can make all the difference in the quality and ease of your work. Trying our Model 720AL-DT Dual Thrust Caulk Gun could be the game-changer that you need.
- Dual Thrust Mechanism: This feature allows you to switch between two pressure settings, making it easier to apply thicker materials without straining your hand.
- Consistent Flow: The gun provides a smooth, steady bead of sealant, which is crucial for a professional finish.
- One-Handed Operation: Thanks to the ergonomic design and easy trigger pull, you can maneuver the gun with one hand, even in tight or awkward spots.
- Quick Cartridge Changes: You can easily unscrew the tip, remove the old tube, and insert a new one without hassle, saving you time on the job.
Step-by-Step Caulking Process
Here’s a detailed walkthrough of how to apply caulk to your exterior window using the Newborn 720AL-DT and proper tooling techniques.
1. Load the Caulk Gun
Start by unscrewing the front cap of the caulk gun and removing the old sausage tube if you’re changing materials. Then, insert the new tube and push it all the way to the end of the barrel. Snap off the crimped end of the sausage tube with the built-in cutter if your gun has one, or use a utility knife carefully. You could also skip the messy cutting and use our self-puncture cone which will puncture the sausage without having to cut the end.
Place your appropriate nozzle on the end and then screw the front cap back on. For exterior windows, use a tip opening size that allows for a bead about the width of a pencil, which balances coverage and neatness.
2. Start at the Top of the Window Frame
Always begin caulking at the top and work your way down. This approach helps control the flow and reduces the chance of caulk running or sagging.
Hold the gun at a consistent angle and gently squeeze the trigger to get the bead flowing. Move steadily along the seam, maintaining a smooth, continuous motion.
3. Tooling the Bead for a Smooth Finish
Immediately after applying the bead, use the Newborn QuikSlix Spatula System to smooth out the caulk. For this application it is best if your spatula head matches your bead width for an even finish.
Tooling serves two purposes:
- Pressing the caulk into the joint to ensure a watertight seal.
- Creating a neat, professional look by shaping the bead.
Run the tool along the bead with steady pressure, wiping off excess sealant as you go. This leaves a clean, uniform line that not only looks great but performs better.
4. Joining Beads and Corners
When you reach corners or joints where two beads meet, overlap slightly and tool the area to blend the caulk. If there’s excess material, wipe it off with a damp cloth or tool to avoid lumps.
Taking your time with these details can make a big difference in the final appearance and durability of your work.
Additional Tips for Exterior Window Caulking
- Work in Comfortable Weather: Avoid extreme temperatures or wet conditions, as they can affect the curing and adhesion of the sealant.
- Use Quality Sealant: Choose a high-quality exterior-grade sealant designed for windows and siding. Silicone or polyurethane-based products are popular for their flexibility and durability.
- Practice Steady Pressure: Consistency is key when squeezing the trigger. Too much pressure can cause the bead to balloon; too little can lead to gaps.
- Keep Tools Handy: Have your tooling sticks, clean rags, and water nearby to quickly smooth and clean your work.
- Clean Up Immediately: Sealant is much easier to clean before it cures. Wipe off any smudges or spills promptly.
Why Choose Newborn Brothers’ Products?
Newborn Brothers has been shaping the future of caulking tools for over 50 years. Starting with only two models, we now offer over 100 different caulking guns and accessories designed with professional input. Our commitment to durability, ease of use, and innovation makes our tools the go-to choice for contractors and DIYers alike.
The 720AL-DT Dual Thrust Caulk Gun and the QuikSlix Spatula System featured in this guide are part of our ongoing mission to improve efficiency and workmanship in caulking projects.
Where to Find the Tools and Supplies
If you’re ready to get started, you can purchase the products mentioned here directly from the links below:
- 720AL-DT Caulk Gun
- QuikSlix Spatula System Handle and 4S Blade
- QuikSlix Spatula System Pouch with Blades
Remember, good caulking not only enhances your home’s appearance but also protects it from costly damage and keeps your living space comfortable year-round.
If you have any questions or want to share your own caulking tips, feel free to leave a comment below. Happy sealing!
You may also like:
 How to Easily Remove Old, Moldy, and Cracked Caulk in Three Simple Steps
 Sealing Your Gutters with Ease: A Hands-On Guide to the 720 DT Dual Thrust Gun
 How To Change the Push Disks on a Pneumatic Gun
 Mastering the Sausage Caulk Gun101: A Step-by-Step Guide
 General Product Knowledge for Single Component Dispensers & Accessories
 Drip-Free vs. Thumb Release vs. Ratchet Caulk Guns: Which Caulk Gun is Best for Your Project?
 Mastering the Drip-Free Caulk Gun: A Comprehensive Guide to the 112D, 102D, and 189D Models
 How to Caulk Your Bathtub the Right Way: A Simple, Step-by-Step Guide