Hey everybody, it’s Dylan with Newborn Brothers, and today I’m going to walk you through the process of sealing gutters using one of my favorite tools: the 720 DT dual thrust gun. If you’ve ever struggled with applying thick sealants, finding the right balance between power and precision, or keeping your hands free of sticky mess, you’re in the right place.
The 720 DT is a versatile, dual-thrust caulk gun that makes it easy to pump thick materials into tight spaces—like those pesky gutter end caps and downspout holes—without breaking a sweat. In this post, I’ll share some personal tips, explain why this tool is a game-changer for gutter projects, and show you how you can get a nice, watertight seal without getting the sealant all over your hands and clothes. Along the way, I’ll also highlight a handy accessory: the Quick Change spatula tool. This helps you spread the sealant evenly, reach into those tight grooves, and avoid the hassle and mess of using your fingers.
Ready to keep those gutters leak-free and looking great? Let’s dive in.
Why Gutters Need Proper Sealing
Before we get into the “how,” let’s spend a moment on the “why.” Gutters are a critical part of your home’s drainage system, channeling rainwater away from your roof and foundation. If water leaks through joints, end caps, or downspouts, it can lead to serious issues—like wood rot, foundation erosion, mold growth, and even stained siding.
By taking the time to properly seal your gutters, you ensure that water flows smoothly where it’s supposed to go. And with the right tools and techniques, the job is straightforward and surprisingly quick.
Introducing the 720 DT Dual Thrust Gun
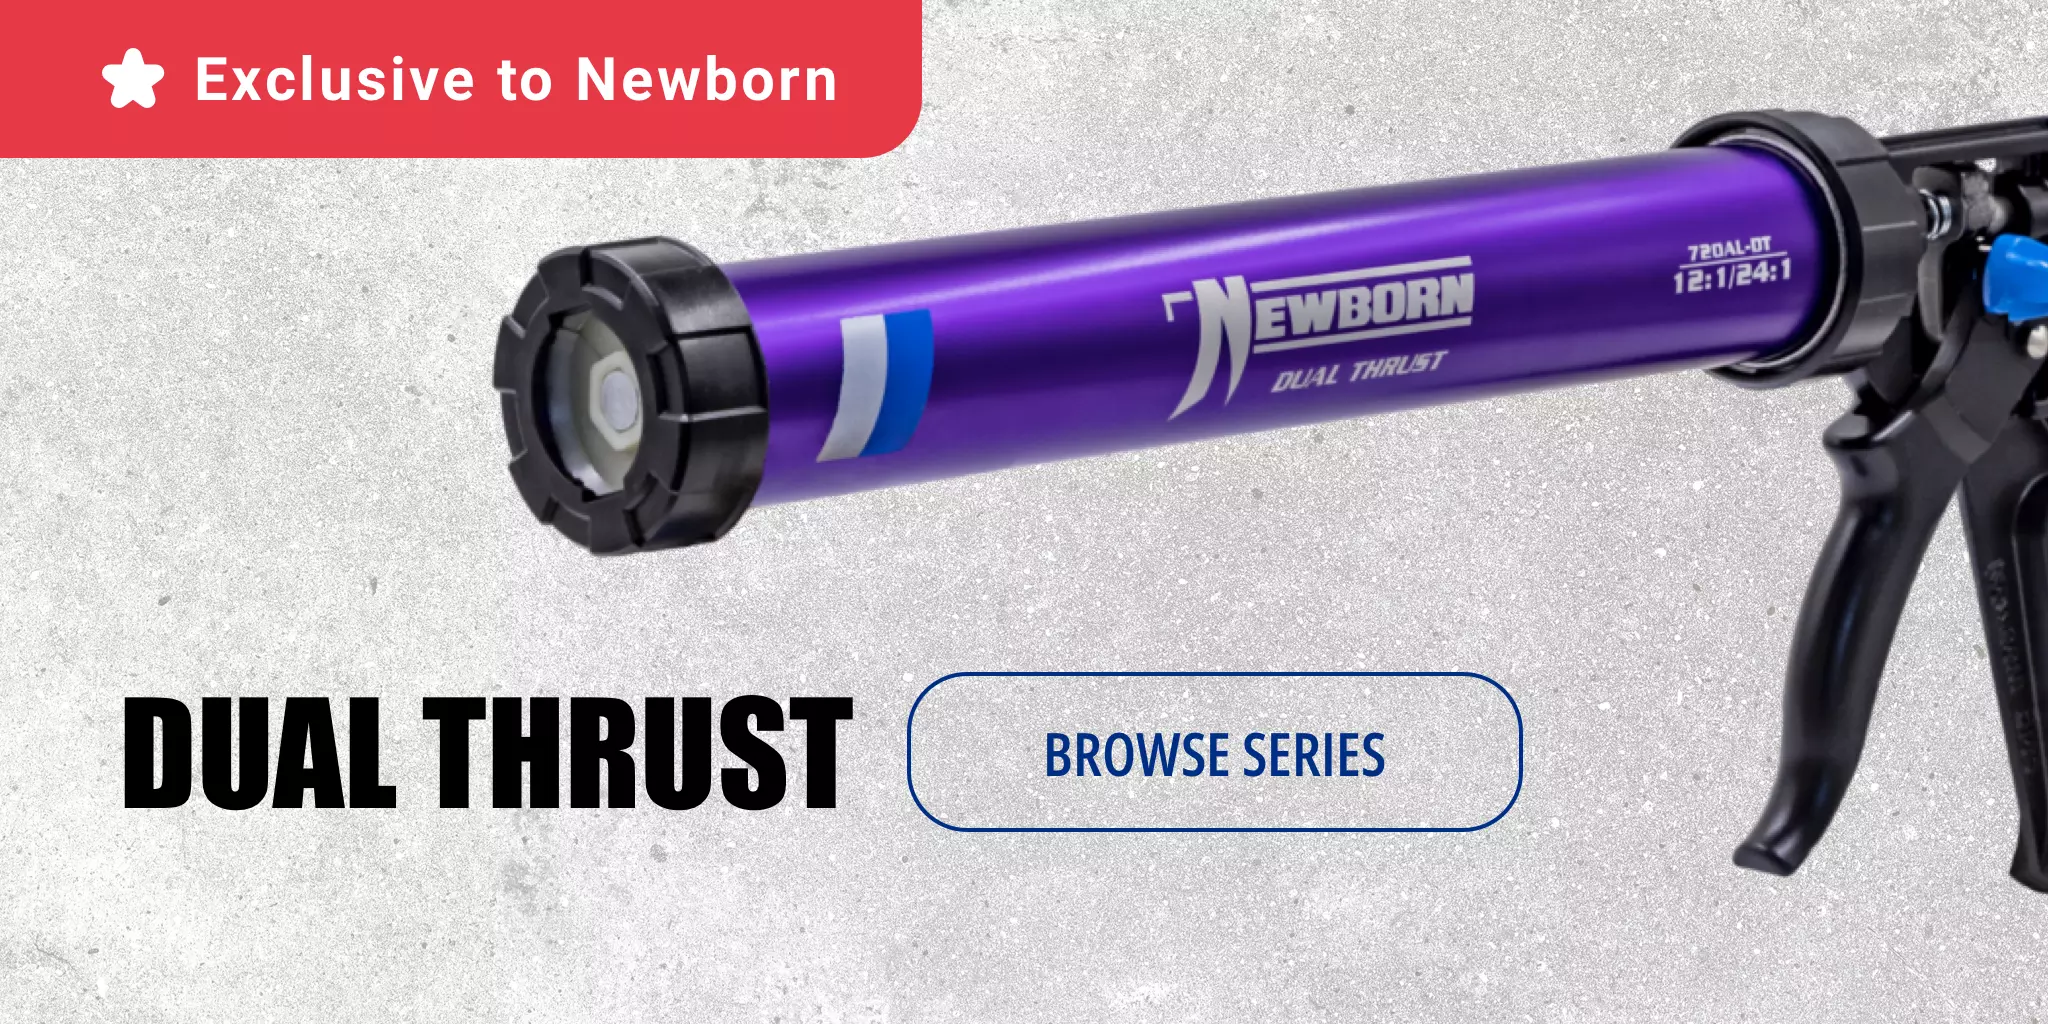
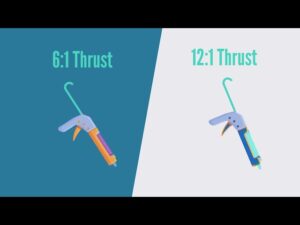
The star of the show is the 720 DT dual thrust gun. If you’ve ever used a standard caulking gun, you know that pushing thick materials through the nozzle can feel like a workout. Some sealants, especially those designed for outdoor use, are more viscous and require a bit more muscle to move. The beauty of the 720 DT is that it offers two thrust ratios. Depending on the viscosity of your material, you can switch to a higher thrust setting, making it easier to dispense thick sealants smoothly and consistently.
Key benefits of the 720 DT:
- Versatility: It works great with different types of sealants. Whether you’re using a thicker, more viscous material or something on the thinner side, you can adjust on the fly.
- One-Hand Operation: Ever tried controlling a big, bulky sausage-type caulking gun with one hand? Not exactly fun. The 720 DT’s ergonomic design and dual-thrust feature mean you can pump out material effortlessly using just one hand if needed. This is a huge help when you’re perched on a ladder or balancing in an awkward position.
- Improved Control: The tool lets you lay down sealant in a controlled manner, so you’re not fighting the gun every step of the way. This leads to cleaner lines, less waste, and a more professional finish.
I’ve been doing this kind of work for almost a decade, and I can confidently say the 720 DT outperforms the clunky tools I started with. It’s definitely a next-level experience compared to what I used back in the day.
The Quick Change Spatula Tool: Your Clean-Up Crew
Now, let’s talk about another handy accessory that makes a big difference: the Quick Change spatula tool. After laying down your bead of sealant, you’ll want to smooth it out and ensure it properly fills all grooves and gaps. Traditionally, many people would just use their finger—an approach that can get messy in a hurry.
The spatula tool, however, is designed specifically for this job. It lets you:
- Push Sealant into Tight Grooves: Some gutter joints have nooks and crannies that are tough to reach with your fingertip. The spatula tool’s shape lets you get into those spots effortlessly.
- Keep Your Hands Clean: No more sticky fingers or sealant stains on your clothes. The spatula does the work so you don’t have to.
- Achieve a Professional Finish: By pressing the sealant evenly and smoothly, you get a consistent, watertight seal that looks like it was done by a pro.
Whether you’re sealing end caps, downspout holes, or gutter joints, the spatula tool ensures the final look is clean and tidy.
Understanding Your Gutter Components
Before you start sealing, it helps to understand the main components of your gutter system:
- End Caps: These close off the ends of the gutters so water doesn’t spill out. Over time, end caps can loosen or develop small leaks, especially if the original sealant wears down.
- Gutter Joints (Seams): Where two sections of gutter meet, there’s usually a seam. If not properly sealed, water can drip through, leading to issues below.
- Downspout Openings: The hole where the gutter connects to the downspout is another potential leak point. A proper seal ensures water flows down the spout rather than seeping around the opening.
By identifying these areas and knowing what to look for, you’ll be better prepared to apply sealant effectively.
Gathering Your Tools and Materials
Let’s make sure you have everything you need before you start:
- 720 DT Dual Thrust Gun: The hero of this project.
- High-Quality Sealant: For gutters, choose a weatherproof, exterior-grade sealant designed to stick to metal. Many gutter sealants are silicone-based or a specialized gutter sealant. Check the label to ensure it’s compatible.
- Cartridges or Sausages of Sealant: The 720 DT can often handle sausage packs if you prefer them. Just make sure you have the right adapter if necessary.
- Quick Change Spatula Tool: Your finishing companion.
- Protective Gear: Gloves, safety glasses, and old clothes are a good idea. While the spatula tool helps you stay clean, it’s always best to be prepared.
- Ladder or Platform: Make sure you have a safe way to reach your gutters. Safety first!
- Rags and Drop Cloths: To catch any drips or for quick wipe-ups.
Having everything ready ahead of time means you won’t be scrambling mid-project.
Prepping Your Gutter for Sealing
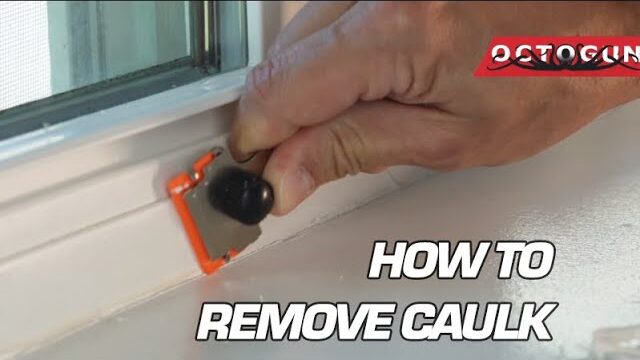
Before you break out the caulk gun, inspect the gutter area you’ll be working on. Remove any leaves, dirt, or debris. If there’s old, failing sealant present, use a scraper or utility knife to gently remove it. Wipe the area clean and make sure it’s dry before you start.
Why is this important? A clean, dry surface ensures that the new sealant bonds properly. If you skip this step, you might find yourself redoing the job sooner than you’d like.
Step-by-Step: Sealing the Gutter
Let’s walk through the process. For this example, we’ll seal an end cap, but the procedure is similar for other areas.
1. Load the 720 DT Gun:
Insert your sealant cartridge or sausage into the gun. If you’re using a sausage pack, just follow the manufacturer’s instructions for loading it. Once loaded, adjust the thrust setting to match the viscosity of your material. If it’s a thicker sealant, crank it up to a higher thrust ratio so you can dispense it easily.
2. Position the Nozzle:
Align the nozzle with the area you need to seal. In this case, we’re filling that groove on the end cap. Make sure the nozzle is at the correct angle so you can get the sealant right into the space where it’s needed.
3. Apply Even Pressure:
Gently squeeze the trigger and watch the sealant flow. With the dual thrust feature, you shouldn’t have to strain. If it feels too tough, increase the thrust setting. If the material comes out too fast, dial it back. Your goal is a steady, controlled bead.
4. Fill All Voids:
Keep applying sealant until you’re sure you’ve filled every gap. For end caps, this might mean getting sealant into the small groove before pressing the cap onto the gutter section. Apply enough material so that when you attach the end cap, it squishes the sealant slightly, ensuring a watertight bond.
5. Release Pressure:
One of the nice things about the 720 DT is the ability to release pressure quickly. After laying down your bead, pop the trigger to relieve any built-up pressure. This prevents excess sealant from dripping or oozing out when you’re done.
6. Attach and Press the End Cap:
Now, place the end cap onto the gutter. Press it firmly so the sealant forms a tight seal. If some sealant squeezes out, that’s okay. That’s what the spatula tool is for.
7. Smooth with the Spatula Tool:
Grab the Quick Change spatula tool and run it along the bead of sealant. Apply a bit of pressure to push the sealant into all the grooves and create a uniform, neat line. This step is crucial for ensuring a leak-free finish. It also leaves you with a professional-looking result—no messy smudges or fingerprints.
8. Clean Up Excess:
Wipe any extra sealant off the spatula tool and gutter surface with a rag. Because you used the spatula instead of your fingers, you’ll notice that cleanup is a breeze. A quick rinse or wipe of the spatula tool, and it’s ready for your next project.
9. Inspect Your Work:
Take a moment to look over the sealed area. Check for any missed spots or uneven sections. The sooner you catch an issue, the easier it is to fix. If you need to add a bit more sealant, go for it and then smooth it out again.
10. Let It Cure:
Most sealants need time to cure and fully bond. Check the product instructions for recommended curing times. Avoid getting the area wet during this period, if possible.
Using the Spatula Tool in Tight Spaces
One of the biggest advantages of the spatula tool is that it shines where your fingers don’t fit comfortably. For instance, if you’re sealing a downspout hole, the edges can be tricky to reach. The spatula’s shape allows you to apply just the right amount of pressure and angle without contorting your hand.
The result? A smooth, even seal in places that would normally leave you frustrated and covered in sealant.
Other Handy Tips
1. Test a Small Area First:
If you’re new to using a dual thrust gun, do a quick test on a scrap piece of material or a part of the gutter that’s less visible. This gives you a feel for how fast the sealant comes out and how much pressure to apply.
2. Keep It Steady:
If you’re working up on a ladder, make sure you’re stable and comfortable before you start applying sealant. One-handed operation is possible with the 720 DT, but always prioritize safety.
3. Temperature Considerations:
Sealant flows differently depending on the temperature. In colder weather, it might be thicker and need more thrust. In hot weather, it might be runnier. Adjust your technique and thrust setting accordingly.
4. Maintenance Counts:
After you’re done, clean your gun and spatula tool. Removing residual sealant keeps your tools in top shape and ready for the next project.
Why the 720 DT Outperforms Traditional Guns
So you might be wondering what makes the 720 DT such a standout compared to the tools you’ve used for years. From my own experience, here’s why I love it:
- Ergonomics: It’s comfortable in the hand, reducing fatigue over long jobs.
- Dual Thrust Means Flexibility: You can tackle a range of viscosities without switching tools.
- One-Hand Use: If you’re on a ladder or need your other hand free for stability, this is a game-changer.
- Clean, Professional Results: Combine the 720 DT with the spatula tool, and your finished product looks like it was done by a seasoned pro.
I’ve been at this for nearly a decade, and I can honestly say tools like these have made the job easier and the results more impressive.
The Evolution of Caulking Tools
When I first learned how to seal gutters, I was taught on older, bulkier sausage-type guns that took both hands and a fair amount of grunt work. Not only were they tough on your hands, but controlling the material flow was a challenge. You’d often have to wrestle with the gun just to get an even line of sealant, and don’t even get me started on cleaning up after using your fingers as a finishing tool.
Fast forward to today, and the 720 DT represents how far we’ve come. It’s lighter, more efficient, and more intuitive. Instead of fighting the tool, I can focus on the task at hand—getting a perfect, watertight seal. And that’s not just good for me; it’s also good for the homeowner who ends up with a better-finished product.
Applying These Techniques to Other Projects
While today we focused on gutters, the 720 DT and the Quick Change spatula tool aren’t limited to just this one application. You can use them for sealing windows, doors, siding, concrete joints, and other areas where a strong, waterproof bond is critical.
The principle remains the same: choose the right thrust setting for your material, apply a steady bead of sealant, and smooth it out with the spatula tool for a clean finish. It’s that simple, and the versatility means you’ll get plenty of use out of these tools on various home improvement projects.
Troubleshooting Common Issues
Even with a great tool, sometimes things don’t go perfectly. Here are a few common hiccups and how to fix them:
1. Sealant Isn’t Flowing Well:
Check if you’ve set the right thrust ratio. If the material is thick and not coming out easily, increase the thrust. Also, ensure the nozzle isn’t clogged.
2. Uneven Beads:
Practice makes perfect. Slow down and maintain consistent pressure on the trigger. If the bead starts to get thin or wavy, steady your hand and try again. You can always smooth it out with the spatula afterward.
3. Messy Cleanup:
If you notice a lot of excess sealant, you might be applying too much. Aim for a smaller bead and then use the spatula tool to press it into place. Using the right amount from the start reduces cleanup time.
Long-Term Maintenance of Your Seals
Sealing your gutters is not a “once and done” task. While a properly sealed gutter can last for years, it’s good practice to inspect them annually—especially after harsh winters or heavy storms. Look for signs of wear, cracks, or peeling sealant. Touching up or re-sealing small sections is much easier than dealing with a larger leak issue down the road.
By keeping an eye on things and reapplying sealant when necessary, you ensure your gutters remain reliable and leak-free, protecting your home’s foundation and preventing costly water damage.
Wrapping It Up
Sealing your gutters doesn’t have to be a messy, frustrating ordeal. With the 720 DT dual thrust gun, you can easily push thick sealant where you need it, maintain control with one hand, and quickly switch thrust ratios to handle different materials. Pair that with the Quick Change spatula tool, and you’ll achieve a professional, watertight finish without ruining your clothes or spending ages cleaning up.
I’ve walked you through the steps I use in my own projects—the same methods I’ve honed over nearly a decade in this field. Whether you’re a seasoned pro looking to upgrade your toolkit or a homeowner tackling your first gutter-sealing job, these tips should set you up for success.
Learn More and Keep Improving
If you found this guide helpful, feel free to check out other tutorials and tips. There’s always more to learn when it comes to home maintenance and improvements. You can also like and follow for more content, or check out the products we used—like the 720 DT dual thrust gun and the Quick Change spatula tool—in the links below.
Remember, a well-sealed gutter system keeps your home protected from water damage and saves you headaches down the line. With the right tools and a bit of know-how, you’ll be sealing gutters like a pro in no time.
Thanks for reading, and happy sealing!

