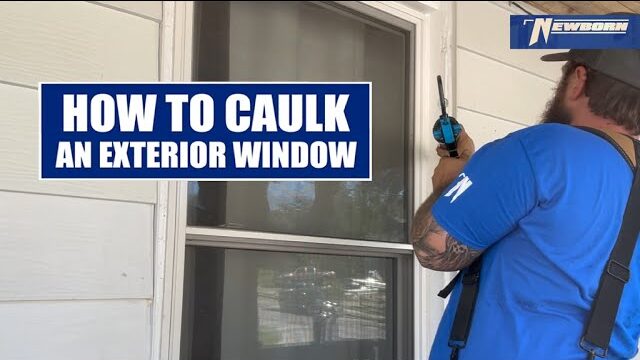
Hey everybody, it’s DL with Newborn Brothers here! Today, I’m going to walk you through the process of sealing up an exterior window, giving it that professional, clean finish that keeps out the elements and enhances the appearance of your home. Whether you’re new to caulking or you’ve been doing it for a while, I’ve got some tips, tricks, and insights that will help you achieve a nice, smooth bead. We’re going to be using a few specific tools and techniques that I’ve found to be a game-changer—especially the 720 dual-thrust caulking gun. I’ve been at this for about 10 years now, and I can honestly say this gun blows any caulk gun I’ve used before right out of the water!
So, let’s dive in. Today’s example involves restoring the seal on an exterior window. We previously peeled out all the old sealant and cleaned the surface thoroughly. Now, we’re ready to apply a fresh bead of sealant using some top-notch gear. I’ll explain how to pick the right tip size, how to tool your bead for a perfect finish, and how the dual-thrust feature on this gun really makes your life easier. Stick around, because by the end of this, you’ll have the know-how to tackle your own window sealing project, and you’ll be well on your way to achieving that professional result you’ve always wanted.
Why It’s Important to Properly Seal Your Exterior Windows
Before we jump straight into the technique, let’s talk about why it matters. Caulking your exterior windows isn’t just about making them look good—though that fresh, clean bead certainly gives a nice, finished look. Properly sealed windows help keep moisture out, which prevents issues like rot, mold growth, and deterioration of your home’s structure. By eliminating drafts, a good seal can improve your home’s energy efficiency and keep your living space more comfortable. In other words, a quality caulking job isn’t just a cosmetic touch-up; it’s part of responsible home maintenance.
Over time, sealants break down. Exposure to rain, UV rays from the sun, and seasonal temperature swings all contribute to your caulk aging and failing. When that happens, you’ll start noticing cracks, gaps, or even missing chunks of the old sealant. That’s your cue to take action. Removing that old, worn-out caulk and replacing it with something fresh and robust ensures that your home remains protected, looks polished, and stands up to whatever Mother Nature throws at it.
Prepping the Surface: Removing Old Sealant and Cleaning Up
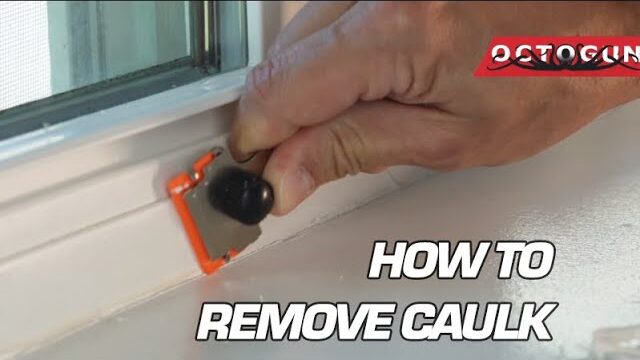
Now, the first step—before we get to the actual caulk application—is always proper prep. In this project, we’ve already peeled out all the existing sealant. If you’re starting fresh at your own place, you’ll want to grab a utility knife or a specialized caulk removal tool to carefully take out that old, cracked, or peeling caulk. Make sure you get it all out, because leftover chunks of old sealant can interfere with the adhesion of your new product.
Once you’ve got the old stuff out, clean the surface thoroughly. I like to use isopropyl alcohol (also known as isopropanol) to wipe everything down. This step helps ensure you get a nice bond with your new sealant. By removing dirt, dust, oils, and other contaminants, you’re setting the stage for your new bead of caulk to adhere properly and last longer. Trust me, taking a few extra minutes to clean can make all the difference in how smoothly the new caulk lays down and how well it performs over time.
Choosing the Right Tools: Meet the 720 Dual-Thrust Caulking Gun
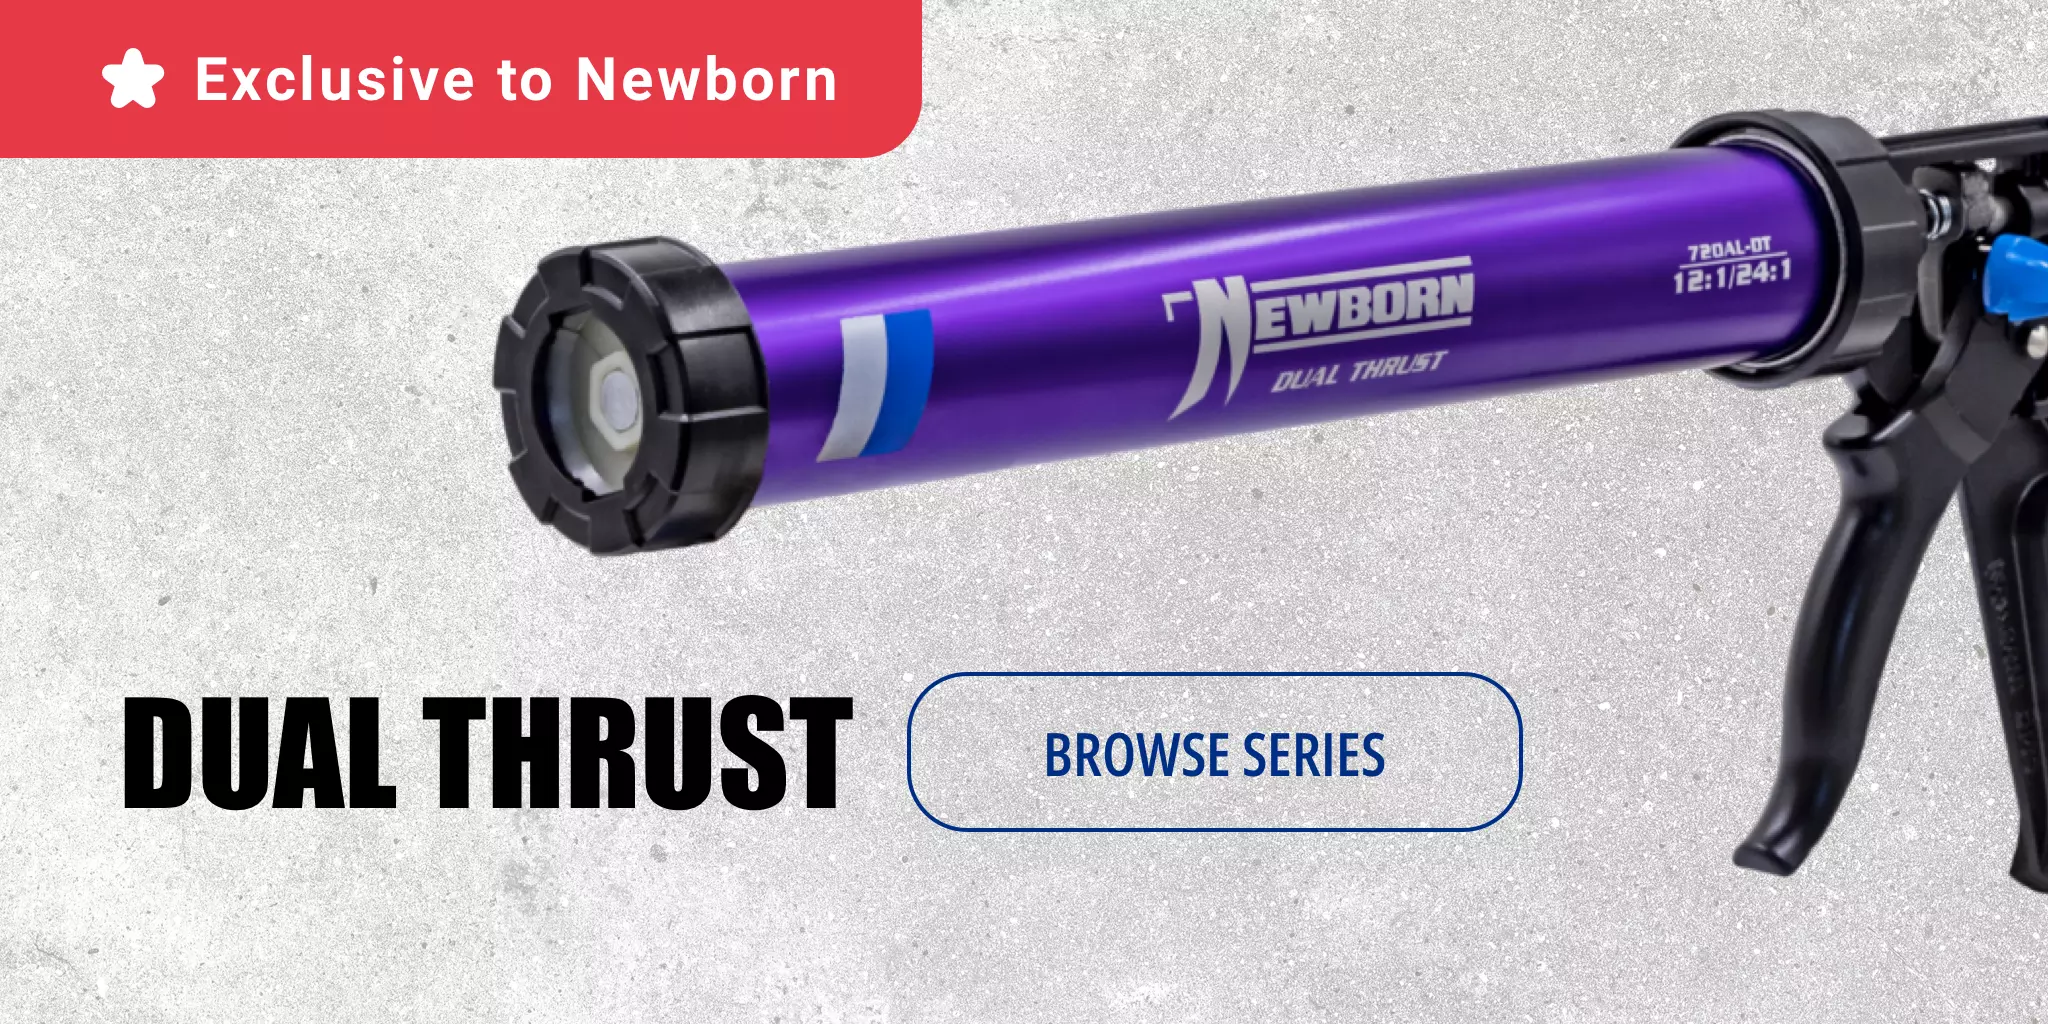
In all my years of sealing and caulking, I’ve used a lot of different guns. But let me tell you, the 720 dual-thrust caulking gun is on another level. This thing is designed to make applying thick materials so much easier. Traditional caulk guns can wear your hand out, especially if you’re dealing with sealants that have a thicker consistency or if you’re working for extended periods of time.
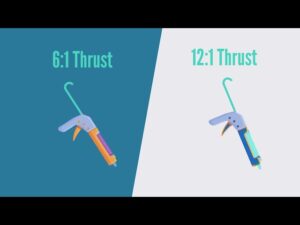
The dual-thrust feature on this gun gives you two settings. One setting is standard, perfect for lighter materials or when you just need a normal flow. The other setting gives you extra thrust—more power for those thicker materials. Instead of straining your hand to push out a stubborn bead of caulk, you just lightly squeeze the trigger, and the gun’s internal mechanism does the hard work for you. That means less fatigue, smoother application, and a more consistent bead.
Another big plus: the 720 dual-thrust gun allows for easy one-handed operation. When you’re working around an exterior window, you often find yourself in awkward positions—maybe leaning out a bit, maybe reaching over something, or trying to get that perfect angle. With a standard gun, you might need two hands to maintain consistent pressure. With this dual-thrust gun, you can just use one hand, which frees up your other hand to steady yourself, hold a rag, or make minor adjustments. It’s a small detail that goes a long way in making the job easier and more precise.
Selecting the Right Tip Size for Your Caulk Bead
Now let’s talk about the tip. The size of your caulk bead really does matter. In today’s project, I’m using about a medium-sized tip. What I’ll do is take my tooling stick (more on that in a second) and notch it so that it matches the tip size of the caulk gun. This way, after I run my bead, I can tool it perfectly to create a smooth, consistent line.
You don’t want to cut too large of an opening on your caulk tube’s nozzle because that can lead to a messy, uneven bead that’s harder to control. On the flip side, too small of a nozzle can make it harder to dispense the thicker sealants. Experiment a bit. Start smaller—you can always trim the nozzle wider if needed. The idea is to find that sweet spot where you’re able to run a nice, even bead without too much effort and without making a mess.
The Quick Stick Newborn Tooling Sticks: A Secret Weapon for a Smooth Finish
A neat, professional finish doesn’t just happen by accident. After applying the bead of sealant, you need to tool it—basically smoothing it out to achieve a clean, uniform appearance. The Newborn Brothers quick stick tooling sticks are a fantastic solution for this. They come with quick-change heads, so you can swap them out depending on the size and shape of the bead you need.
What I like to do is customize the head by notching it out so that it matches the tip size and bead shape I’m going for. By doing this, when I pull the tool through the fresh caulk, it leaves behind a perfect, smooth bead. This attention to detail is what makes your finished job look like it was done by a seasoned pro. And it’s not just about looks—smoothing the bead helps ensure that the sealant properly adheres along the entire joint and won’t have gaps or thin spots.
Step-by-Step: Applying Caulk to the Exterior Window
Alright, now let’s get down to the main event. Here’s the basic workflow for caulking an exterior window with this setup:
- Start at the Top: Begin at the uppermost corner of the window frame. Gravity and the layout of your workspace suggest it’s easier to work from top to bottom. Get the bead flowing by gently squeezing the trigger. With the 720 dual-thrust gun, you won’t have to struggle—the sealant should start flowing nice and smoothly.
- Work Your Way Down: Slowly move the gun along the window joint. Keep steady, consistent pressure on the trigger so that the sealant flows out evenly. Move at a pace that ensures a uniform bead without rushing. You want the caulk to fill the gap nicely, but not overflow or drip.
- Adjusting Angles: Exterior windows often have corners, edges, and tight spots that can be tricky to reach. With a traditional gun, you might struggle and even have to stop, reposition, or switch hands. With the dual-thrust feature, you can navigate these areas one-handed, adjusting the angle easily and maintaining a consistent bead. This is where that dual setting really shines—no more wrestling with your tool.
- Stop and Release: When you reach the end of a run, gently release the trigger and press the “back-up” or release mechanism on the gun. This stops the flow of sealant and prevents it from oozing out unnecessarily. It’s a small detail, but it helps keep your work clean.
- Refilling Made Easy: When your sausage tube of sealant runs empty, refilling the gun is a breeze. Just unscrew the barrel, remove the spent tube, release the pressure, and load in a fresh tube. Crimp the end, screw the tip back on, and you’re good to go. The process is quick and efficient, so you can keep working without too much downtime.
Tooling the Bead for a Professional Finish
Now that you’ve laid down your bead, it’s time to tool it. This step is crucial if you want that flawless, uniform line that’s the hallmark of a quality job.
- Choose the Right Tooling Stick Head: Pick the head that matches the notch and bead size you’re after. Snap it onto the quick stick tool.
- Smooth, Even Pressure: Place the tooling stick at the start of your bead and pull it along the sealant line with a steady, even motion. The notched head will remove any excess sealant and press the bead firmly into the joint, creating a perfect, consistent shape.
- Wipe and Clean as You Go: Keep a rag or a paper towel handy. After each pass (or after a few passes, depending on the length of your run), wipe off the tooling stick to remove the excess sealant. This prevents buildup on the tool and keeps your bead looking sharp.
- Joining Up Your Runs: If you had to start and stop at different segments, you might have overlap points. Tooling helps smooth out those junctions so that the entire bead looks like one continuous line. This attention to detail gives your work that finished, professional appearance.
Tips for a Better Caulking Experience
While the process itself is fairly straightforward, here are a few extra tips I’ve picked up over the years:
- Maintain a Steady Pace: Don’t rush. Caulking is a skill that benefits from patience and consistency. Take your time to achieve a uniform bead.
- Check the Weather: Caulk can be sensitive to temperature and humidity. For best results, choose a day that’s not too cold or wet. This ensures proper adhesion and curing.
- Use High-Quality Sealants: The best tools in the world won’t help if you’re using low-quality sealant that cracks or shrinks after a few months. Invest in a reputable brand and a product that’s rated for exterior use and can handle the elements.
- Don’t Neglect Cleanup: After finishing, give the area a once-over. Remove any stray sealant drips or smudges while it’s still fresh and easy to wipe away.
- Practice on Scrap: If you’re new to caulking, consider practicing on a piece of scrap material before tackling your actual window. A few minutes of practice can help you get comfortable with the gun, the trigger pressure, and the tooling technique.
Troubleshooting Common Issues
Even with the best tools, you might run into a few hiccups along the way. Here are some common issues and how to handle them:
- Uneven Bead: If your bead is coming out uneven, check your nozzle size. It might be too large or too small. Also, ensure you’re holding the gun at a consistent angle and moving at a steady pace.
- Gaps in the Bead: If you notice the caulk skipping or leaving gaps, it could be that your sealant is too thick or you’re not applying enough pressure. Switch the gun to the higher thrust setting and see if that helps.
- Drips and Over-Application: If too much caulk is coming out, reduce your trigger pressure or move a bit faster. You can also trim the nozzle to a smaller opening if needed.
- Difficult Angles: For tough corners, try adjusting the angle of the gun or switch hands if you’re comfortable. With a dual-thrust gun, you’ll find that those awkward spots are easier to manage than with a standard gun.
The Final Result: A Professional, Long-Lasting Seal
Once you’ve tooled the bead and cleaned up any stray sealant, step back and admire your work. A nicely sealed exterior window not only looks great—it will protect your home for years to come. The consistent bead, the perfect adhesion, and the neat finish are all signs that you took the time to do it right.
And remember, maintenance is key. Over time, keep an eye on your sealant lines. If you notice cracking or separation years down the road, you’ll know exactly what to do: peel it out, clean it up, and apply a fresh bead with confidence.
Frequently Asked Questions
Q: Can I use the 720 dual-thrust gun for interior projects as well?
Absolutely! While we’re talking about exterior window sealing today, this gun is versatile and can be used for a wide range of caulking and sealing jobs inside and outside the house.
Q: What kind of sealant should I use for exterior windows?
Look for a high-quality, exterior-grade silicone or polyurethane sealant that’s formulated to resist UV damage and stand up to moisture. Check the product label to make sure it’s suitable for your local climate and the type of material you’re sealing against (wood, vinyl, metal, etc.).
Q: How often do I need to re-caulk my windows?
It depends on the quality of the sealant used and the local climate conditions. On average, you might re-caulk every 5-10 years. Regular inspections will help you determine when it’s time for a refresh.
Q: Do I need any special cleaning products besides isopropyl alcohol?
Isopropyl alcohol is great for prepping the surface. If you encounter stubborn grime or old adhesive residue, you can use a mild household cleaner. Just make sure everything is thoroughly dry before applying the new sealant.
Wrapping It Up
So, there you have it—an in-depth look at how to properly seal an exterior window and why I swear by the 720 dual-thrust caulking gun. From prepping the surface and choosing the right tip size to smoothing the bead with a tooling stick, every step matters. The combination of good technique, quality tools, and the right materials sets you up for success. When all is said and done, you’ll have a neat, professional-looking seal that stands the test of time.
If you have any questions, feel free to drop a comment below. And if you’re curious about the products I’ve mentioned today—like the 720 dual-thrust gun or the quick stick tooling sticks—just follow the link provided. It’ll take you right to our webpage where you can check them out in more detail. Thanks for reading along, and good luck with your next caulking project!


